


DIY Tutorial:
Print your own iron-on fabric labels for merchandise using your home printer!
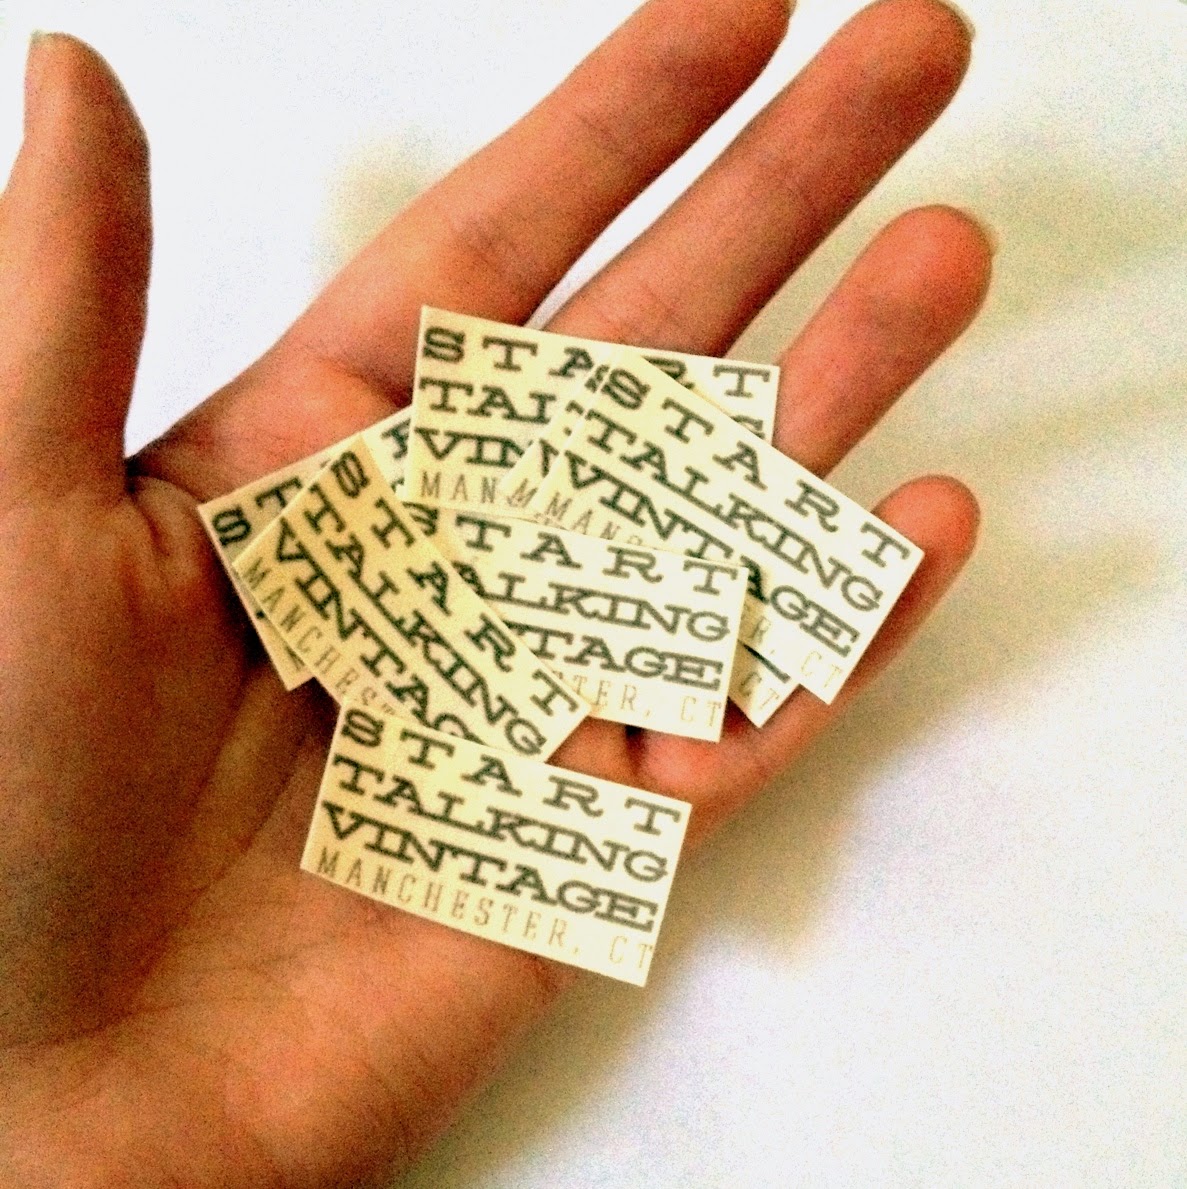
I have a new handmade product coming out in my Etsy shop, Start Talking Vintage, and needed some fabric labels. I looked on several sites to order some, but really didn't want to wait the few weeks for shipping (or pay for that matter!). Using supplies I had lying around, I was able to make these lovely labels for my handmade items- the best thing is they iron right on, no sewing required!

-Cotton fabric of your choosing (preferably white/off-white, stiffer fabric will be better) (at least 8.5"x11")
-Heat n Bond Ultrahold (at least 8.5"x11")
-rotary cutting mat, ruler and rotary cutter (a simple pair of scissors will also suffice)Not pictured: -Printer & printer ink
-computer with word processing program (I used Microsoft Word)
-iron/ironing board
Disclaimer: I haven't tested these labels in the washing machine, so I don't recommend using them on items that are intended to be washed. These labels are iron-on and not intended to be sewed on to your items. If you wish to sew on your labels, simply use Heat n Bond Lite (the purple package) instead of the Ultra and alter accordingly.
1. Boot up your word processing program. I used Microsoft Word, but anything of the like will suffice. You can even use Photoshop if you have it, but I just found that Word was easiest for this simple project. Use your own logo (like I did) and copy and paste it repeatedly until it fills the page, or simply use the text and fill the page with your shop name or desired text in a font of your choosing. Play with the margin sizes if necessary.

2. Cut your fabric and Heat n Bond Ultra to 8.5"x11" so it can fit into your printer. I used a rotary mat, ruler and rotary cutter in this step to be very precise. I did not pre-wash my fabric as I am not intending for these labels to be washed. 3. On your ironing board, place the fabric down and the Heat n Bond on top of it (paper-side up!) Make sure that your fabric and Heat n Bond are perfectly aligned with one another. Using the medium setting on your iron (NO STEAM) bond the fabric underneath by pressing the iron on the paper liner for two seconds. Repeat until the entire 8.5"x11" is bonded. Allow to cool. Do not peel the paper backing off just yet!

that you just printed on fabric!
-005.JPG)
Optional (but highly recommended) step: After the printed fabric was dry, I "heat-set" the ink by quickly running a medium-heat iron over the fabric, which sets the ink to avoid smudges later on.
5. Cut your labels to size using your rotary cutter. Simple scissors will suffice, but a rotary cutter will give a crisper edge.


7. Enjoy your new labels!

 Written by Jessica Marie of Start Talking Vintage. Jessica is a 22 year old recent college grad who has developed a passion for all things vintage and the rich history they carry. She enjoys treasure hunting for historic beauties at estate sales, crafting, sewing and DIY projects, especially those that upcycle vintage items and give then new, modern appeal. She is aspiring to be a preschool teacher- but will never leave her old-soul vintage passion or eye for design behind.
Thank you! I can't wait to try this with my products. I may even try making my price tags with fabric now too.
ReplyDelete