Showing posts with label DIY. Show all posts

Tuesday, February 2, 2016

Valentine's Fun: DIY Conversation Hearts


Valentine's Day is on its way, and for those of us with kids, we're always looking for a fun holiday project we can do each other and to make as gifts.  We made these a few years ago and we have fond memories of how fun they were to make, we may try again soon!

We’ll need:
  • 1 packet (1/4 oz, or 2 tsp) unflavored gelatin
  • 1/2 cup water
  • 2 tsp light corn syrup
  • 2 lbs powdered sugar, plus additional for dusting
  • Assorted flavoring extracts of your choice
  • Assorted food colors of your choice
  • Heart-shaped cutters
  • Food coloring markers

Put the corn syrup, gelatin, and water in a small microwave-safe bowl.  Stir until the gelatin is well-distributed.  Microwave the mixture for 30 seconds, so the gelatin dissolves, and stir well.  Pour the gelatin mixture into mixer bowl (mixer prepared with paddle attachment).  Add 1 cup of powdered sugar and turn the mixer to low, mixing until the sugar is incorporated.

Once the sugar is mixed in, add another cup of sugar, again mixing on low until it incorporates. Continue to add the remaining powdered sugar, one cup at a time, pausing in between additions to allow the sugar to mix in, until the full two pounds of powdered sugar is added. Periodically, stop the mixer and scrape down the bottom and sides of the bowl. The candy will progress from a thin, watery liquid to a very stiff dough.

Once all of the sugar is incorporated, dust a work surface (counter or large cutting board) with powdered sugar and scrape the candy out onto the work surface.  The candy will be very sticky and stiff.  Generously dust the top of the ball of candy with powdered sugar, and begin to knead the candy like bread dough: fold the ball of dough over onto itself, then use the heel of your hand to push it down.  Give the candy a quarter-turn, and repeat the process, dusting it with more powdered sugar as often as necessary to prevent it from sticking to the board or your hands.  Knead until the candy is satiny and not sticky.  TADA!


Decide how many colors/flavors of conversation hearts you want to make, and divide the candy dough into that many portions.  To flavor and color the candy, take one of the balls and flatten it into a palm-sized disc.  Add a few drops of food coloring and flavoring extract to the center of the disc, and fold it over on itself.  Your hands will look and smell lovely.  Probably for days.


clockwise from top: pink = vanilla, purple = root beer, green = spearmint, orange = tangerine 

Dust your work surface and a rolling pin with powdered sugar and roll out one of the candy balls to your desired thickness.  Ours were about 1/4″.  Use heart-shaped cutters to cut hearts out of the rolled candy, and transfer the hearts to a baking sheet.  Once you have cut out your hearts, you can re-roll the scraps to get more shapes out of the dough.  We were able to get 2 runs out of each color with some extra.   Repeat with remaining candy balls.  Allow your hearts to air-dry for at least 24 hours before you write on them.  This step is VERY important, because any extra moisture in the hearts will cause the ink to run later if you do not let them dry properly.


Once completely dry, decorate as you like with edible/food coloring markers. This is a great part of the project for just about any age.
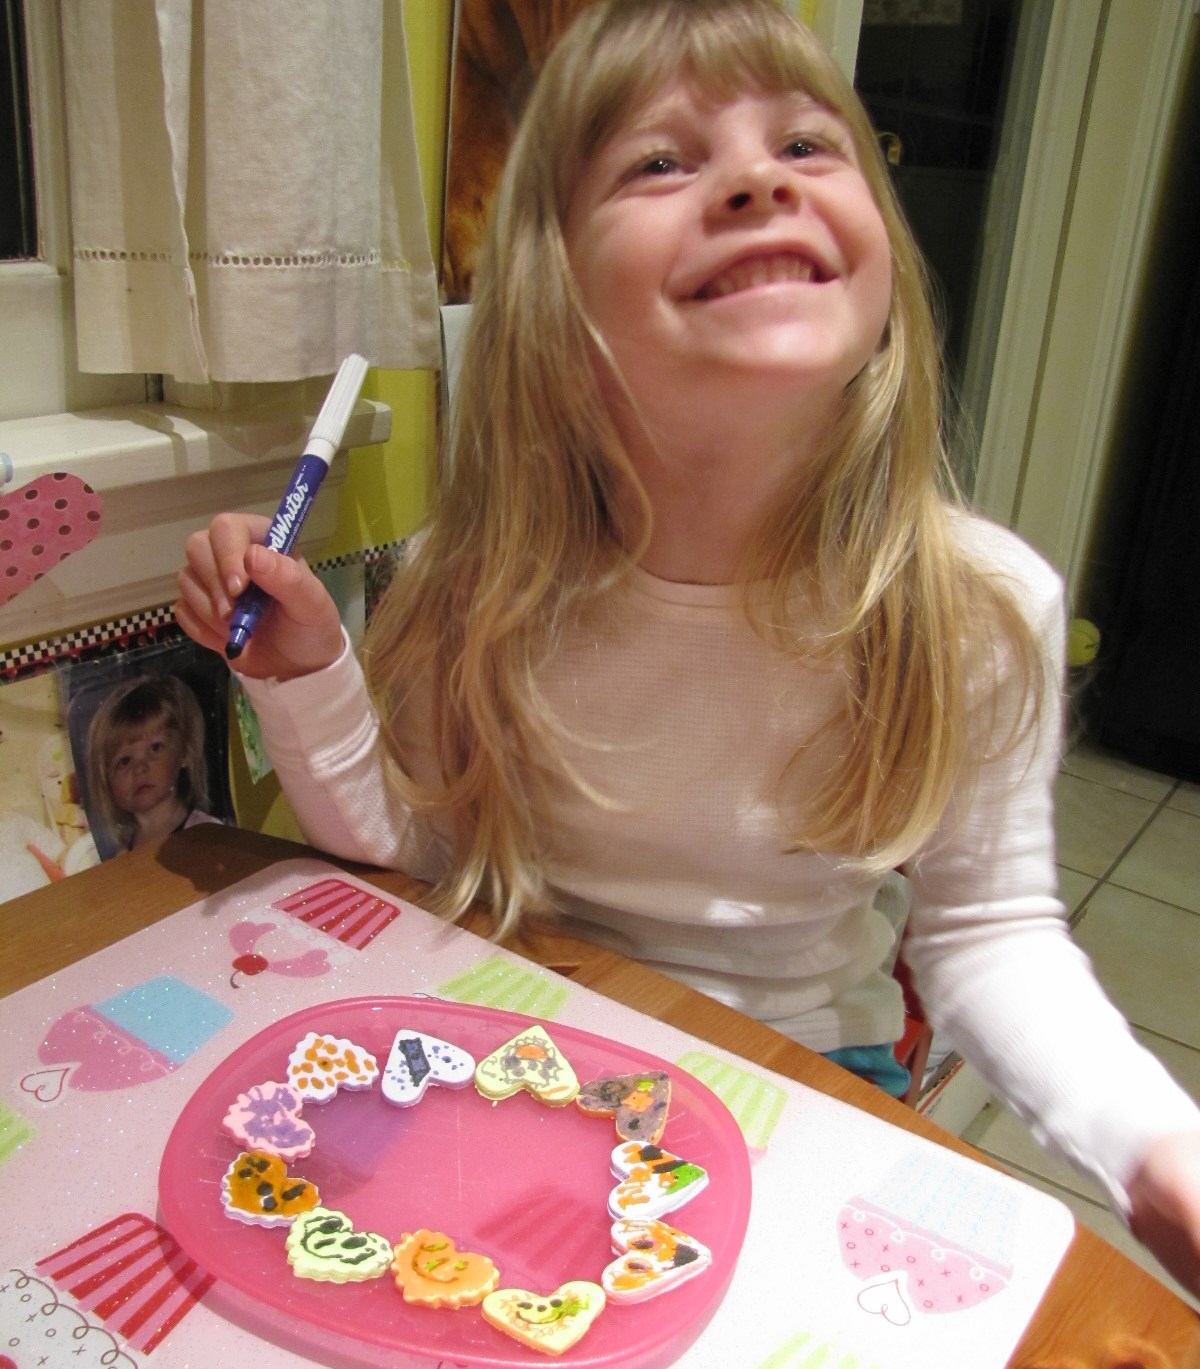

Package them up and they are a sweet gift for friends, neighbors, family and teachers!


Vanessa Felie, aka "Queenvanna" juggles a husband and two blond pixies while running her burgeoning paper arts and crafts business, QueenvannaCreations. Her job and family inspire her to create crafty projects for holidays, vacations, as well as times when there's just not much going on. Perpetual calendars and other home items, scrapbooking album kits and personalized gifts of all kinds - She looks to add a little flair to everything she makes, to put some extra fun in to daily life, as well as special occassions.
Website | Instagram | Twitter | Facebook | queenvanna@cox.net


Wednesday, January 27, 2016

DIY Welcome Pineapple Stencil


Last year, in early Spring I was inspired to stencil a pineapple on our front step. Why you may ask? Well, there's a house around the corner from us where the owner stenciled (or stamped) the word "Welcome" in a few different languages on her steps leading up to her front door. Charming, innovative, creative don't even begin to describe how cool this looks. Not wanting to lift the idea, plus we live in a registered antique home (circa 1664), I opted for the early American Pineapple graphic that was a symbol colonists used to welcome visitors, to stencil on our brownstone step.

I couldn't find a pineapple stencil to purchase online, but did find a crude silhouette image (free clipart, public domain) that I downloaded and cleaned up by hand. I re-scanned and finished sharpening the image in Photoshop. I printed the pineapple out on card stock, ran it through my laminator, and with a sharp Xacto knife cut the black image out. Laminating the pineapple made the used stencil durable should I need it again, and it stood up to being pressed against a rough stone step.

I used an outdoor acrylic paint purchased at a big box store that can be applied to a variety of surfaces and with a small brush carefully dabbed or “stenciled” the image to the front step facing our street. If you want a go at this project for your home’s front step, simply download the Pineapple art to create your own stencil. This is a great and fairly easy way to update a very old tradition used to welcome visitors to one’s abode.

Pineapple Stencil


Suzanne Urban of Smirking Goddess and Suzanne Urban on Etsy. Illustrator, graphic designer and gag writer, she combines her talents to produce unique products featuring her home-brewed sense of humor. Fervently committed to her witty muse, Suzanne creates from her cozy studio housed in an eclectically furnished antique home where she resides with husband, Malti-Poo and Calico cat.
Facebook | Instagram | Twitter | suzanneurbandesigns@gmail.com

Friday, June 5, 2015

Garden Cocktails: Lemon Moxie


My nine-year-old asked me what my favorite hobby was the other day. I think I told him cooking or reading, but my new favorite hobby is making cocktails from my garden. Last year, I made Sage Blossom Simple Syrup (will share that soon!) and created a cocktail called, Sweet Sage Blossom. It hooked me.

For my newest creation, the base is a Chive Blossom Vinegar. I have a hardy chive plant in my herb garden and it flowers every year in May. I knew there had to be a use for the blossoms, so in my search, I came across a post from a favorite blogger, Marisa McClellan, of Food in Jars. The recipe is basically prepping and steeping the blossoms in white distilled vinegar and you can read the specifics here.

The steeped vinegar turns this amazing fuchsia color and smells delightfully sharp and onion-y sweet.

I strained it into a bottle I had saved and looked in my kitchen to see what was available for a possible cocktail.

The base would have to be gin, as all the vodka has disappeared (hmm.) But gin is a great match for the flavor of the vinegar.

I had a lemon and some honey and ice. Done!

It was savory with a small hit of sweetness. If you like sweet cocktails, this is not for you. But if you’re willing to try a more savory drink, this really tastes like summer.
See the recipe below.

Lemon Moxie


2 ounces gin
1 ounce fresh lemon juice
2 teaspoons honey
1 1/2 teaspoons Chive Blossom Vinegar

Place honey in the bottom of your glass or jar. Add gin, vinegar and lemon juice. Stir until honey dissolves. Add ice and a sprig of chives, if you have it on hand. Enjoy!
***
If you decide to shake your beverage, the honey will clump together and not dissolve properly. Stirred, not shaken, please.


Cyn Thomas is the illustrator, designer and pattern maker of RiverDog Prints. Her paper goods and gifts are guided by earth, animals, function, food and cocktails. You can also find Cyn canning in her kitchen, walking her dog, being outnumbered by her boys and husband or reading herself to sleep.
Website | Instagram | Twitter | Facebook | woof@riverdogprints.com

Wednesday, May 27, 2015

DIY Seaweed Face Mask

The DIY Seaweed Face Mask Recipe is finally here!

Facial masks can be customized for your skin type very easily. I was feeling a little creasy & greasy, so I needed to whip up a firming, pore clarifying mask. This mask I would not recommend for dry skin.

I used:
  • 2 Tablespoons of coffee, from the bottom of the cup 
  • 1 tsp organic sustainable palm oil (palm oil is naturally high in vitamin e, a great option for those of us soy sensitive. If you are worried about the environmental impacts - carefully research your supplier & pay the extra for a earth friendly version) 
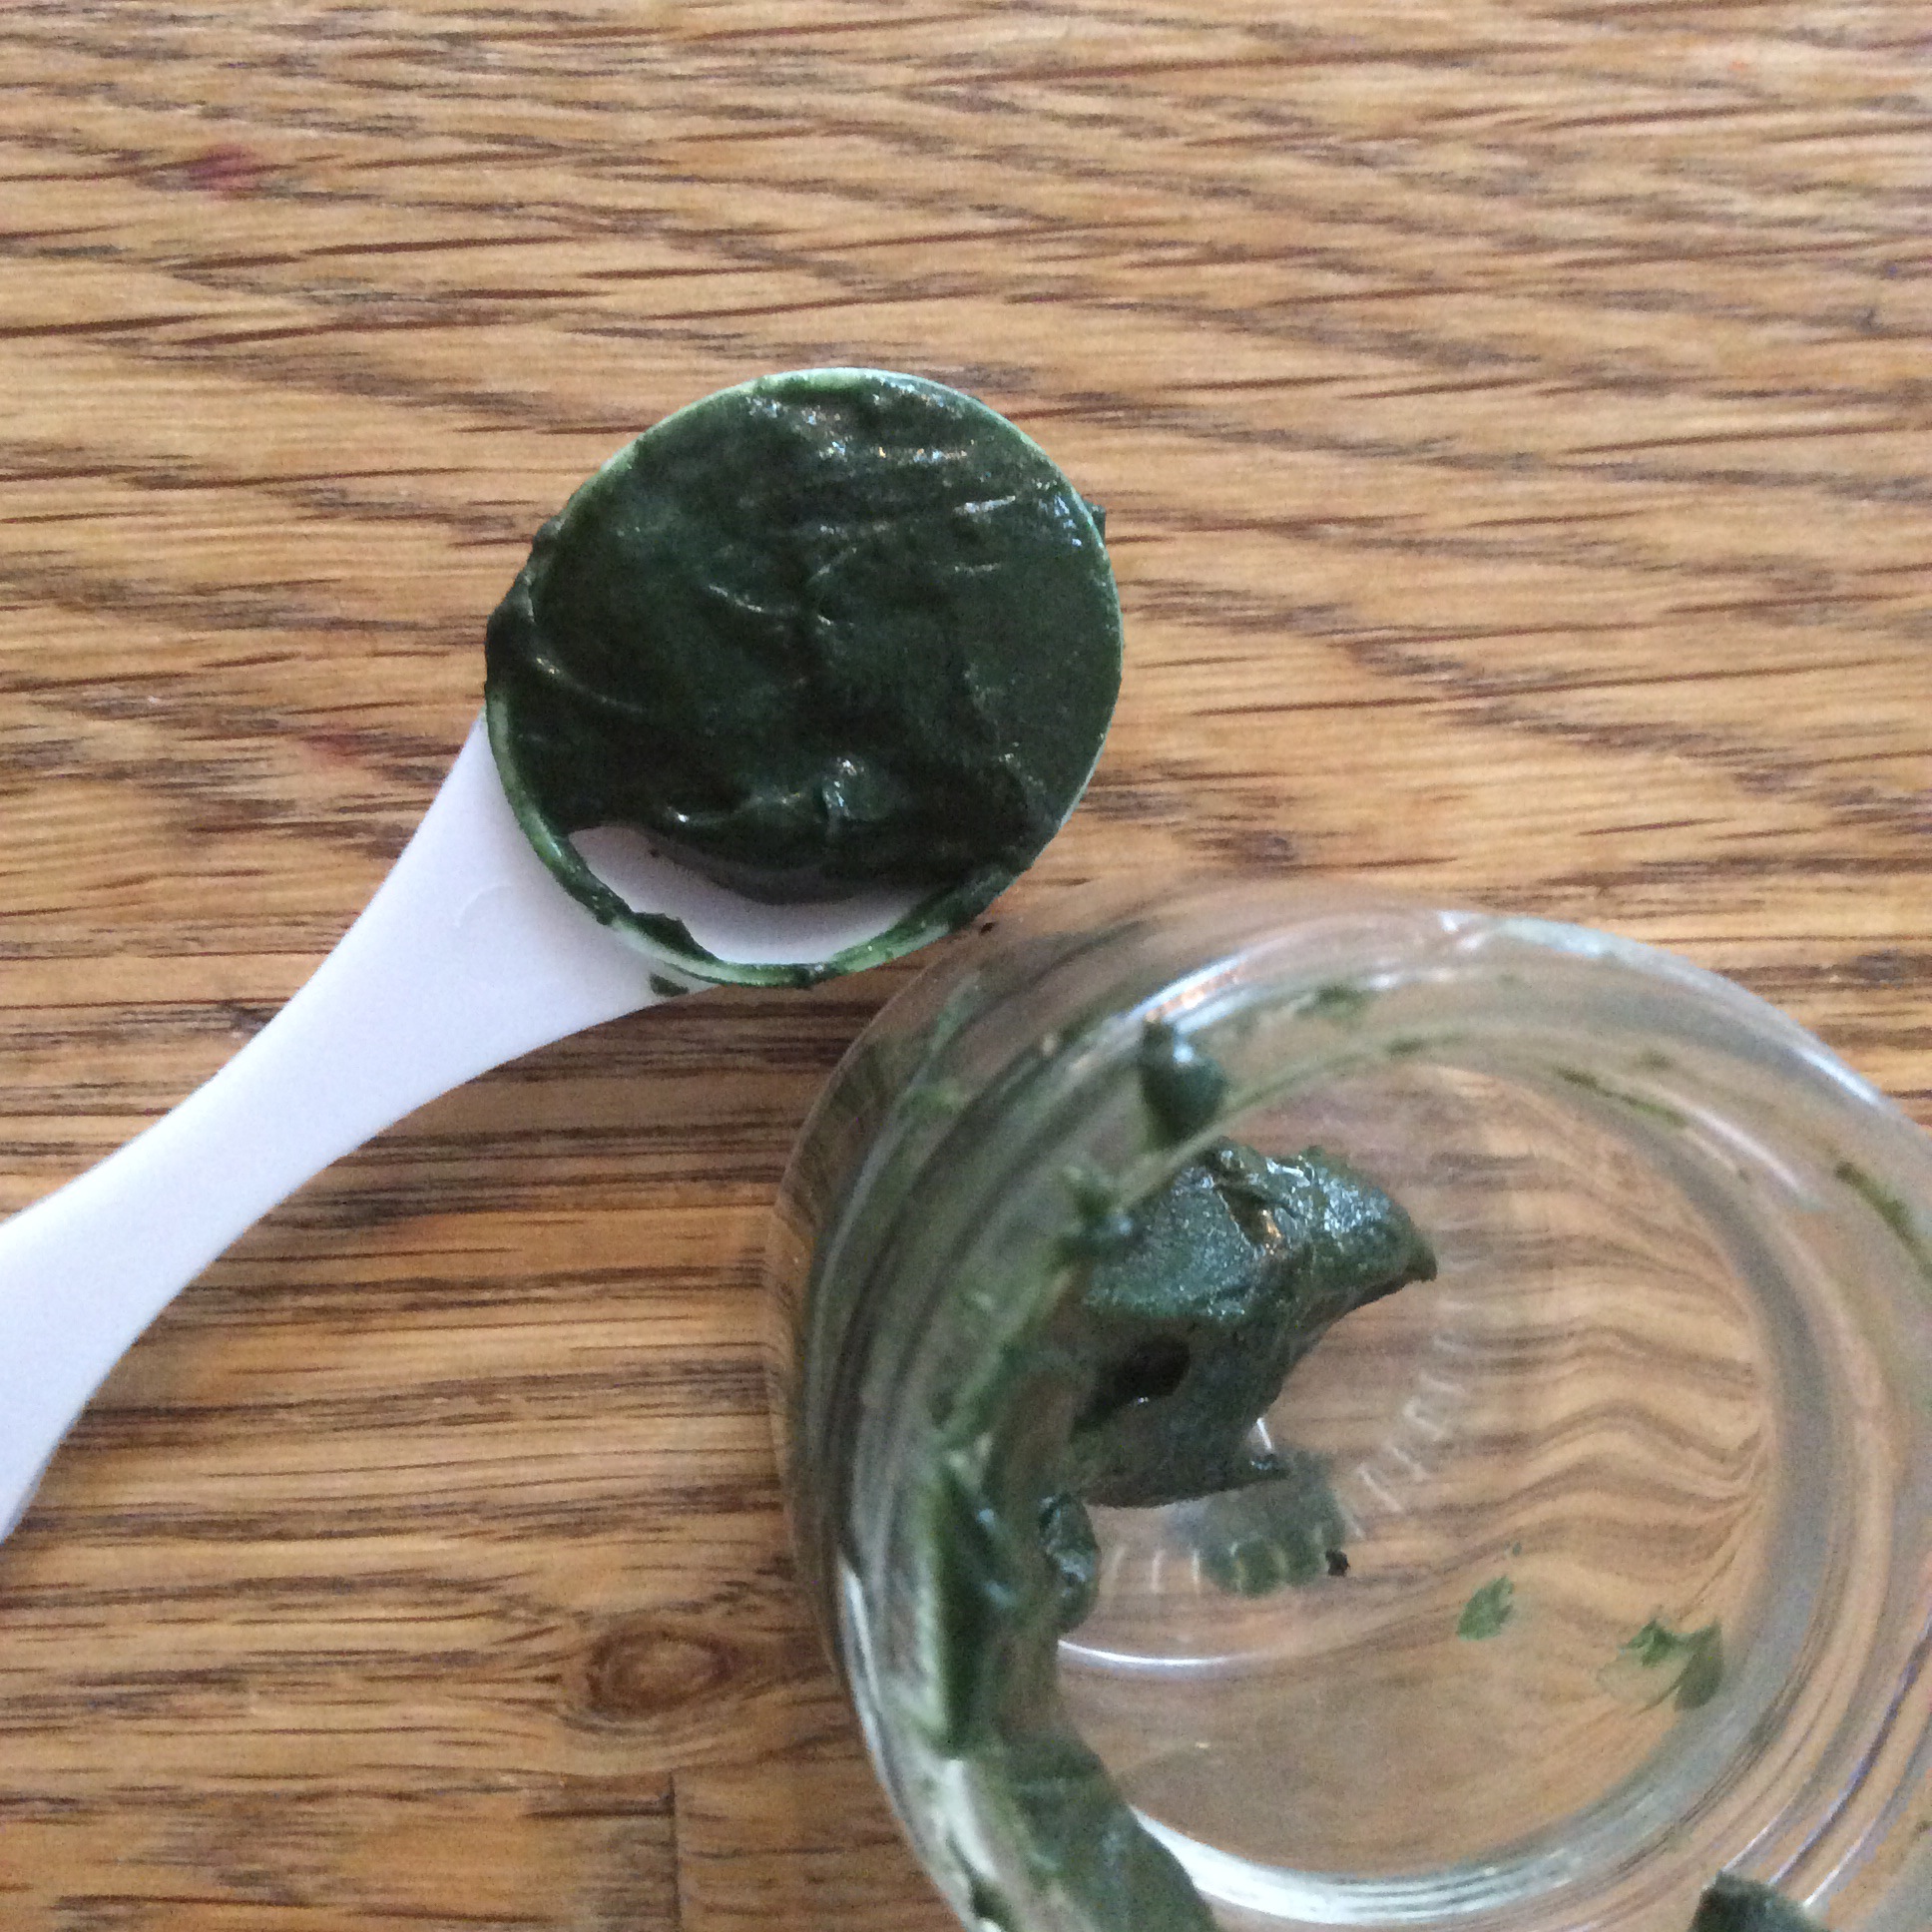
  • 1 tsp spirulina (yes, it's GREEN!!!) 
  • a little extra coffee to make desired consistency 
  • 2 small pinches of bentonite clay (this will refine & detox pores) 
  • a small spoon of castor oil (not recommended for dry skin, but great for wrinkles & oily skin) 
  • 2 cool black tea bags, soaked in extra coffee in fridge
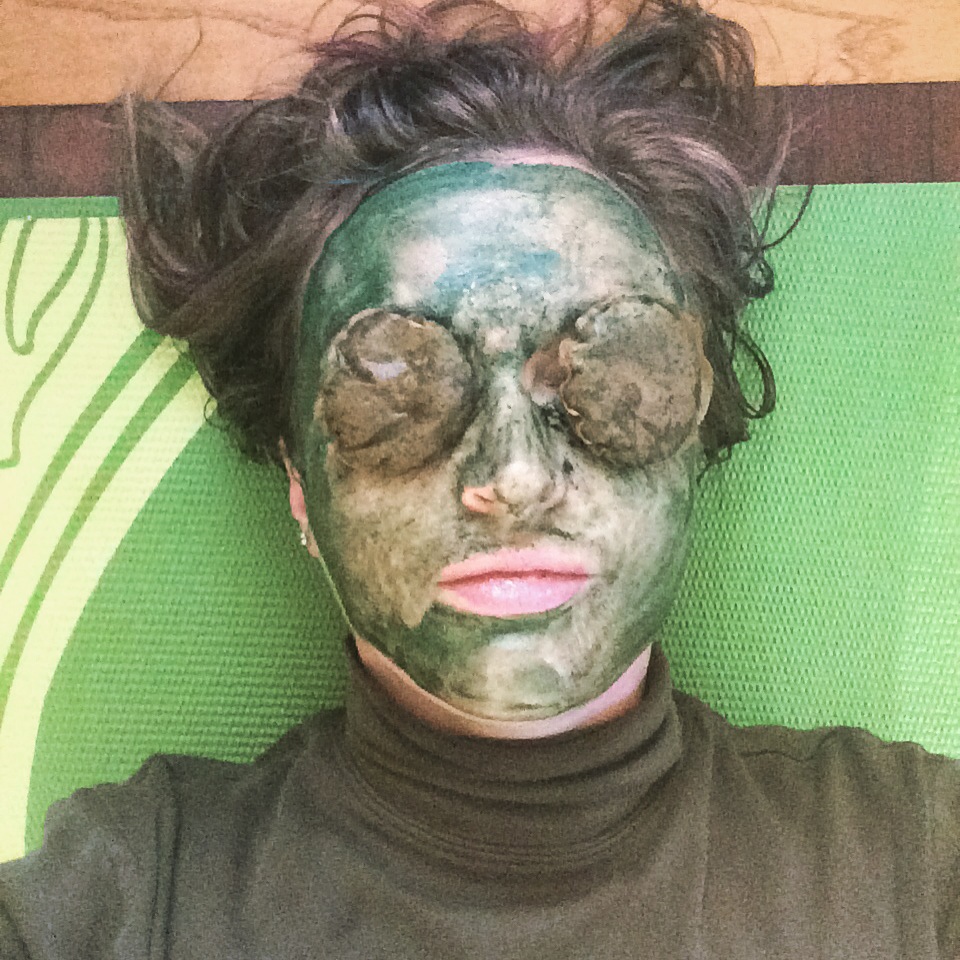
And voila, laid down for 10 minutes on my yoga mat. My skin felt wonderful for about 3 days afterwards. The extra mask will last about 2 weeks in the fridge, but spirulina will get stinky!

Ingredients for DIY masks will be on PureNakedSoap, but we will not be selling completed masks because it is more cost effective to mix your own liquids in as needed.


Erin Egan of Pure Naked Soap is a mom to three girls and social worker by day, but at night she is a creator of body nourishing foods and skincare products. Diagnosed with multiple allergies, Erin makes most of her foods and all of her soaps and skincare products from scratch. Using whole ingredients that meet the needs of her body, she found that many other people were interested in simpler, truly natural soaps. Check out her selection of body friendly products!
Instagram | Twitter | Facebook | Wanelo | purenakedsoap@gmail.com

Wednesday, May 6, 2015

Make Your Own Dog Biscuits


We love our pets in the Nutmeg Collective (see the evidence here.)  You can join Vanessa and her girls in baking some treats for your four-footed creatures.

.  .  .  .


We did so much baking over the holidays, I was so tired of eating baked goods. The girls like baking, but they're tiny and don't eat much. We had a Sunday afternoon in front of us with no plans and they wanted to be in the kitchen so bad. So! Homemade dog biscuits.

This is the recipe they used:

2 c flour

1 c oats

1/3 c wheat germ

1/2 c peanut butter (we used creamy/natural)

1 1/4 c hot water

We threw it all in the stand mixer and it came together quickly, like play-doh and not nearly as sticky as I thought it’d be.

Roll out with a little flour and use cookie cutters to cut:


(We didn't have a bone-shaped cutter, but we had a kitty head. The girls thought that was funny.)

Spray baking sheet, line up pieces. Mix a little honey with water to thin it, brush on the un-baked dog biscuits.

Bake in preheated oven, 350 degrees, about 30 minutes - until browned.


Like other baked goods, these are perishable - use them up quickly or freeze for later-time treats.


Vanessa Felie, aka "Queenvanna" juggles a husband and two blond pixies while running her burgeoning paper arts and crafts business, QueenvannaCreations. Her job and family inspire her to create crafty projects for holidays, vacations, as well as times when there's just not much going on. Perpetual calendars and other home items, scrapbooking album kits and personalized gifts of all kinds - She looks to add a little flair to everything she makes, to put some extra fun in to daily life, as well as special occassions.
Website | Instagram | Twitter | Facebook | queenvanna@cox.net


Wednesday, April 29, 2015

DIY Whipped Soap


This has been an ongoing experiment, which started when I began making my own dog soap. Puppies need a pH of 7 and most cold process soap falls above that range. I began by mushing up soap and adding vinegar to shreds to lower the pH. I would wash the dog by rubbing my soap shred vinegar mush to her. A few weeks ago, I had a brilliant idea, now I am using this to wash my hair, wash my dog and I will be posting some whipped soap scrubs shortly on PureNaKeDSoap.com.


This is a very simple DIY recipe:
  • Shredded cold process soap of your choice - must be made with lye (sodium hydroxide) 
  • Apple cider vinegar ( I used Bragg's Organic) 
  • Water (I used distilled)

1. Measure about 2 small handfuls of soap shreds in a microwave safe container


2. Add a large spoonful of apple cider vinegar to the shreds


3. Microwave shreds and vinegar about 30 seconds - does not smell good the ACV is strong. 
Be careful -- it gets hot.


4. This is about what my shreds looked like when I added about 1/3 cup of water. 
 Microwave again 30-45 seconds. 
 Watch while microwaving, it bubbles & needs to be stopped before it bubbles over.


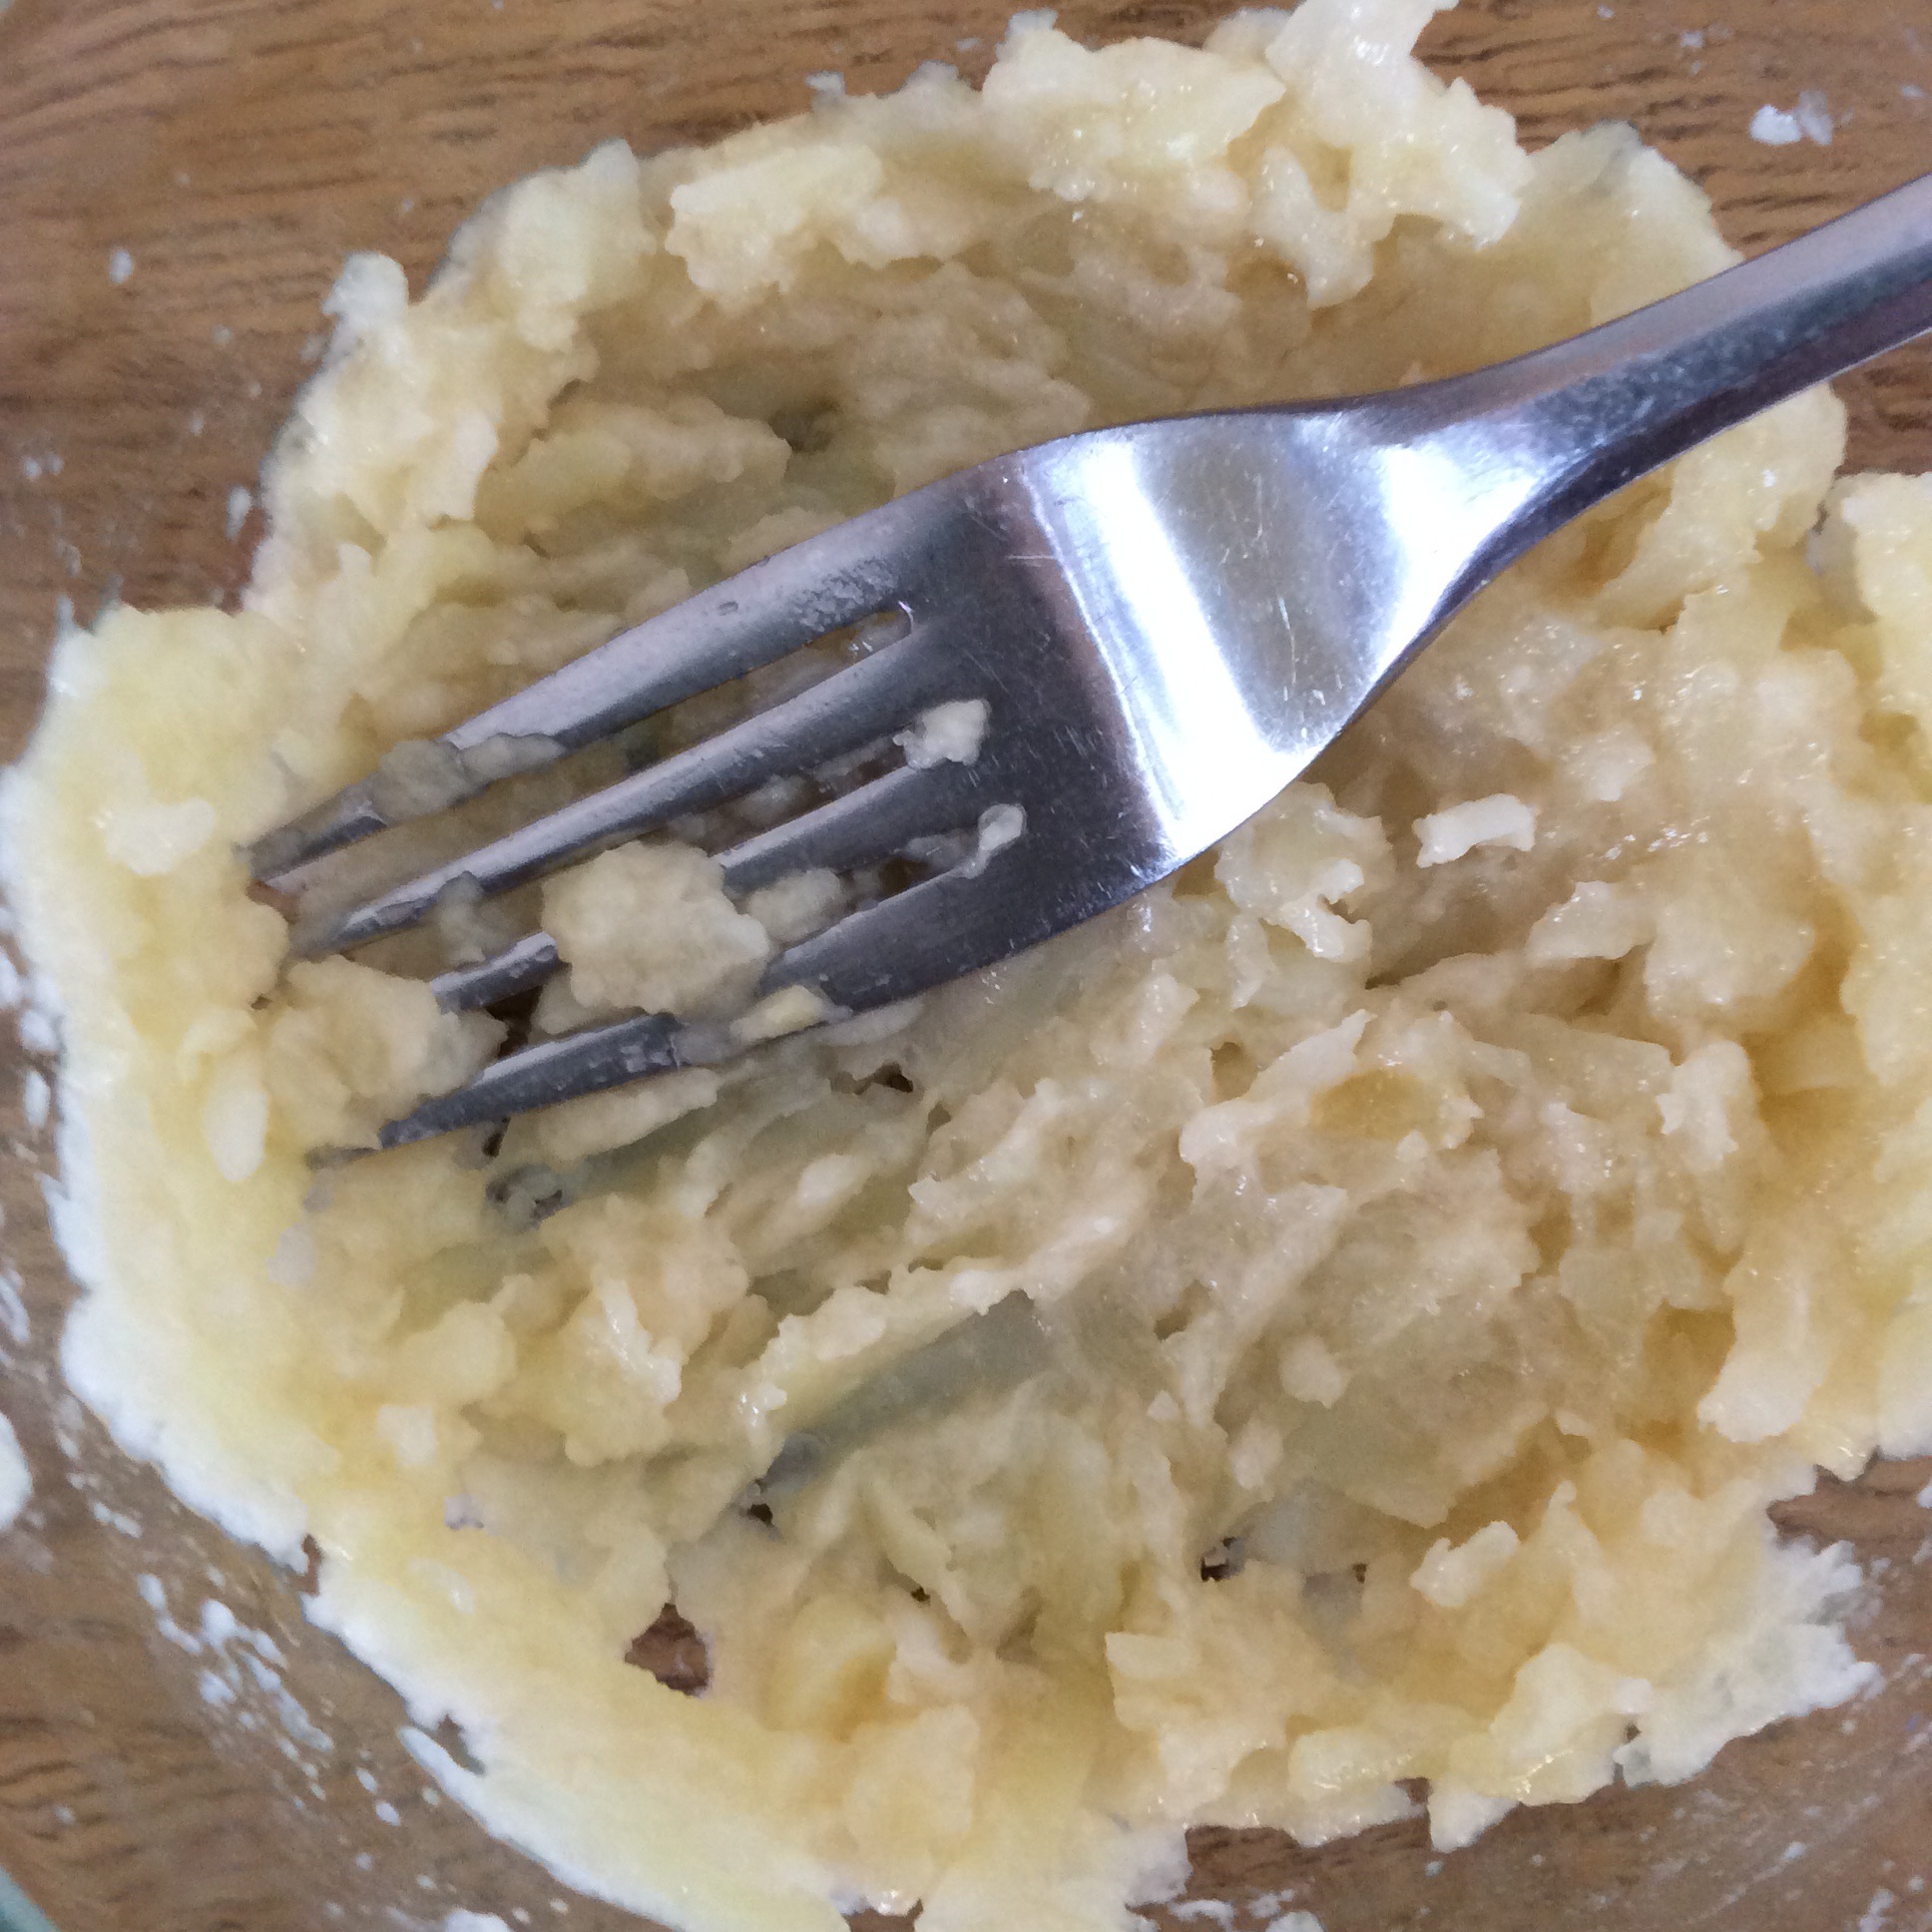
5. Remove from microwave & whip with fork, be careful it will be hot.


6. Mix until shreds dissolve more.


7. This is how it looked shortly after. I shook it a few times in a mason jar.


8. After sitting overnight in the mason jar, I whipped it a little with a fork. 
 I added a few drops of tea tree to this batch, because it is my own shampoo now. 
 Dog doesn't get tea tree, she gets rosemary!
I love it! I will be continuing to play with the recipe to get a thinner more liquid mixture. This will be on PureNaKeDSoap.com within a month with a Honey Bunny Whipped Sugar Scrub mixture!!


Erin Egan of Pure Naked Soap is a mom to three girls and social worker by day, but at night she is a creator of body nourishing foods and skincare products. Diagnosed with multiple allergies, Erin makes most of her foods and all of her soaps and skincare products from scratch. Using whole ingredients that meet the needs of her body, she found that many other people were interested in simpler, truly natural soaps. Check out her selection of body friendly products!
Instagram | Twitter | Facebook | Wanelo | purenakedsoap@gmail.com

Wednesday, April 1, 2015

DIY Kitchen Lip Balm


Lip balm is one of the easiest things that you can make at home, in your own kitchen. In about 20 minutes, you can have lip balm made for the entire family. This is a super simple recipe that may require you to make one little stop to your local health food store, but I bet you already have most of what you need in your pantry.

The great thing about this balm is that you won't need to spend a fortune to make it and you can make multiples at one time, saving money in the long run. The best thing though, is that this is an all natural lip balm which is chemical free and contains no dyes, artificial flavors, or preservatives.


You can make this in your microwave or you can make a double boiler by inserting a class cup (I use a Pyrex measuring cup) into a larger pot of boiling water. You'll only want the water to come about half way up your glass container.

You'll need a kitchen scale to go by weight. But I have converted it for you so that you can just use measuring spoons.


You will also need the main ingredients:

1. 1 Tablespoon Extra virgin olive oil
2. 2 TablespoonsVirgin or unrefined coconut oil (the real stuff smells like coconuts)
3. 1 Tablespoon Beeswax
4. 5 drops of an essential oil of your choice (I love peppermint)

To microwave:

Mix all your ingredients (except your essential oil) together in a microwave safe bowl and heat until fully melted and is all liquid.

Stovetop:

Do the same but melt your ingredients (except your essential oil) in your double boiler until fully liquid.


Once you have melted your mix, remove from heat and add your essential oil last. This will keep it from evaporating out during the melting process.  Stir.

Pour your liquid mixture into your desired containers. You can buy lip balm twist up tubes or you can pour it into cool vintage tins, little cosmetic pots, anything you want to carry with you.


Let it sit to cool undisturbed for at least one hour. Do not cover it while it is cooling.

Enjoy your super moisturizing and safe to eat lip treatment!


Jeanine Dell'Orfano is the founder of Solstice Handcrafted. Her focus is safe, chemical-free, organic skin care products and candles formulated from natural herbs, extracts, hydrosols, butters and oils. She works out of her home in Middlefield, CT and loves making custom formulas for those with allergies and sensitive skin. Her background in health, medicine and photography have come together to create a holistic business that allows her to share her love of living simply and beautifully.  Website | Instagram | Facebook


Wednesday, March 4, 2015

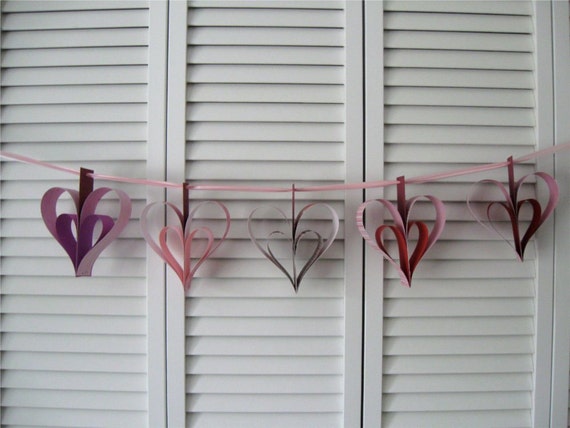
DIY: Paper Heart Garland


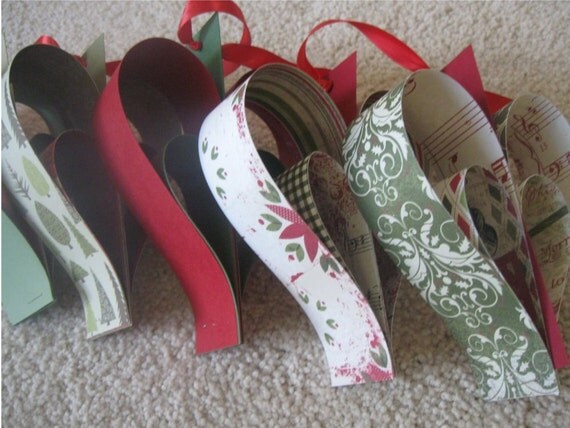
As the seasons start to change, many people find themselves wanting to brighten up their house with some colorful decor.  A fun and easy project, these paper heart garlands can be made for any season, and it's a great project to do with kids.  Each garland has five hearts, but you can make more or less depending on the space you have to fill.


For this project you will need:
  • Two 1.5 x 12-inch strips, two 1.5 x 8-inch strips, and one 1.5 x 6-inch strip of coordinating quality cardstock or double-sided scrapbook paper*, per heart  (*Double-sided scrapbook paper works best, since both sides of the paper show.  If you use single sided paper, you will need to glue two strips of paper together so each side has a pattern showing (if you use a patterned paper).)
  • Ribbon at least 1/2-inch wide and 48 inches long for a 5-heart garland
  • Hole punch, preferably 1/8 inch
  • Stapler
  • Ruler or measuring tape

To construct the hearts:

Starting with the shortest strip, take the two long strips and sandwich the short strip between them with the pattern you want showing facing in and upside-down. If this sounds confusing, bend the top of the long strip down to the bottom of the strip and see what side is showing out.  The pattern you want should be showing and when bent should be right side up.  If it is not, turn the strip so it will look the way you would like.  Do the same with the medium strips, one on either side, so that in your hand you have a stack that goes: medium, long, short, long, medium.


Bend one of the medium strips down so the top of it aligns with the bottom.  Do the same with the long strip next to it.  That should construct one side of the heart.


Holding those, do the same on the other side, bending both strips so the tops meet the bottom.


Make sure all of the edges are lined up flush at the bottom and staple about 1/4- inch from the bottom.


Punch a hole at the top of the short strip about 1/4-inch from the top.


Set the heart aside and repeat this process for any other hearts you're making.

To assemble the garland:

Decide in what order you want your hearts to hang on the ribbon.  Measure about 6-8 inches from the end of the ribbon.  Tie a knot in the ribbon at that mark.  This knot will hold your first heart in place.  Rolling up the ribbon to fit it through the hole in the heart, slide one heart onto the ribbon and push it all the way to the knot.

 
(see the knots on either side of each hole? that's what you're doing so the hearts stay in place once strung as garland)

Tie another knot on the other side of the paper strip as close as you can to the paper strip to secure the heart in place.  This will keep it from sliding around. Measure six inches from the second knot you made in the ribbon.  Tie a third knot at that point.  This knot will hold your second heart in place.  Like the first, slide the heart onto the ribbon and tie a fourth knot to secure the heart in place.  Repeat these steps for each heart, measuring six inches between each heart.

Trim the ends of the ribbon so they are equal lengths from the end knots.  This will ensure that the garland hangs more evenly.


There you have it!  This is a fun family project that can be completed in a short amount of time.  Have fun playing with different color schemes in different seasons!


Written by Kristen of Milo and Molly.  Kristen runs her business while staying at home with her two small children. Fueled by an endless supply of tea, she sews late into the night when the house is quiet, most often accompanied by her faithful poodle, Casey.

Wednesday, February 25, 2015

Chore Jars Tutorial.


Chores in our house are exactly that: chores. I have two boys and they need a little guidance when it comes to earning their keep around the house. Plus, I am not the best housekeeper in the world- I would rather be doing most anything than cleaning the house.  Having some helping hands with everyday chores is good for our family in many ways- the tasks get accomplished and the kids contribute to the household.


This system of having chore jars divided into individual rooms helps organize the tasks that need to be done. You just need scrap pieces of paper with chores written on them that can be taken out daily or as often as you like. Then they can be switched out when the chore is no longer needed, or chores can be added as your children can handle more responsibility.


To make your own chore jars, simply download this free PDF file- you can print on any kind of paper or cardstock, though cardstock will be more durable. I printed on kraft cardstock for my tags. You can either cut the tags into squares or into circles. (I use a circle punch that is 2 1/2 inches in diameter to punch the tags out.) Make a small hole at the top of the tag.  Use either twine or ribbon, insert through the small hole and tie around the jars. I leave the jars open at the top and just screw on the outer ring for easy access to the chores.

Enjoy your clean-as-can-be home!


Cyn Thomas is the illustrator, designer and pattern maker of RiverDog Prints. Her paper goods and gifts are guided by earth, animals, function, food and cocktails. You can also find Cyn canning in her kitchen, walking her dog, being outnumbered by her boys and husband or reading herself to sleep.