


Valentine's Day is on its way, and for those of us with kids, we're always looking for a fun holiday project we can do each other and to make as gifts. We made these a few years ago and we have fond memories of how fun they were to make, we may try again soon!
We’ll need:
- 1 packet (1/4 oz, or 2 tsp) unflavored gelatin
- 1/2 cup water
- 2 tsp light corn syrup
- 2 lbs powdered sugar, plus additional for dusting
- Assorted flavoring extracts of your choice
- Assorted food colors of your choice
- Heart-shaped cutters
- Food coloring markers
Put the corn syrup, gelatin, and water in a small microwave-safe bowl. Stir until the gelatin is well-distributed. Microwave the mixture for 30 seconds, so the gelatin dissolves, and stir well. Pour the gelatin mixture into mixer bowl (mixer prepared with paddle attachment). Add 1 cup of powdered sugar and turn the mixer to low, mixing until the sugar is incorporated.
Once the sugar is mixed in, add another cup of sugar, again mixing on low until it incorporates. Continue to add the remaining powdered sugar, one cup at a time, pausing in between additions to allow the sugar to mix in, until the full two pounds of powdered sugar is added. Periodically, stop the mixer and scrape down the bottom and sides of the bowl. The candy will progress from a thin, watery liquid to a very stiff dough.
Once all of the sugar is incorporated, dust a work surface (counter or large cutting board) with powdered sugar and scrape the candy out onto the work surface. The candy will be very sticky and stiff. Generously dust the top of the ball of candy with powdered sugar, and begin to knead the candy like bread dough: fold the ball of dough over onto itself, then use the heel of your hand to push it down. Give the candy a quarter-turn, and repeat the process, dusting it with more powdered sugar as often as necessary to prevent it from sticking to the board or your hands. Knead until the candy is satiny and not sticky. TADA!

Decide how many colors/flavors of conversation hearts you want to make, and divide the candy dough into that many portions. To flavor and color the candy, take one of the balls and flatten it into a palm-sized disc. Add a few drops of food coloring and flavoring extract to the center of the disc, and fold it over on itself. Your hands will look and smell lovely. Probably for days.

clockwise from top: pink = vanilla, purple = root beer, green = spearmint, orange = tangerine
Dust your work surface and a rolling pin with powdered sugar and roll out one of the candy balls to your desired thickness. Ours were about 1/4″. Use heart-shaped cutters to cut hearts out of the rolled candy, and transfer the hearts to a baking sheet. Once you have cut out your hearts, you can re-roll the scraps to get more shapes out of the dough. We were able to get 2 runs out of each color with some extra. Repeat with remaining candy balls. Allow your hearts to air-dry for at least 24 hours before you write on them. This step is VERY important, because any extra moisture in the hearts will cause the ink to run later if you do not let them dry properly.


Once completely dry, decorate as you like with edible/food coloring markers. This is a great part of the project for just about any age.
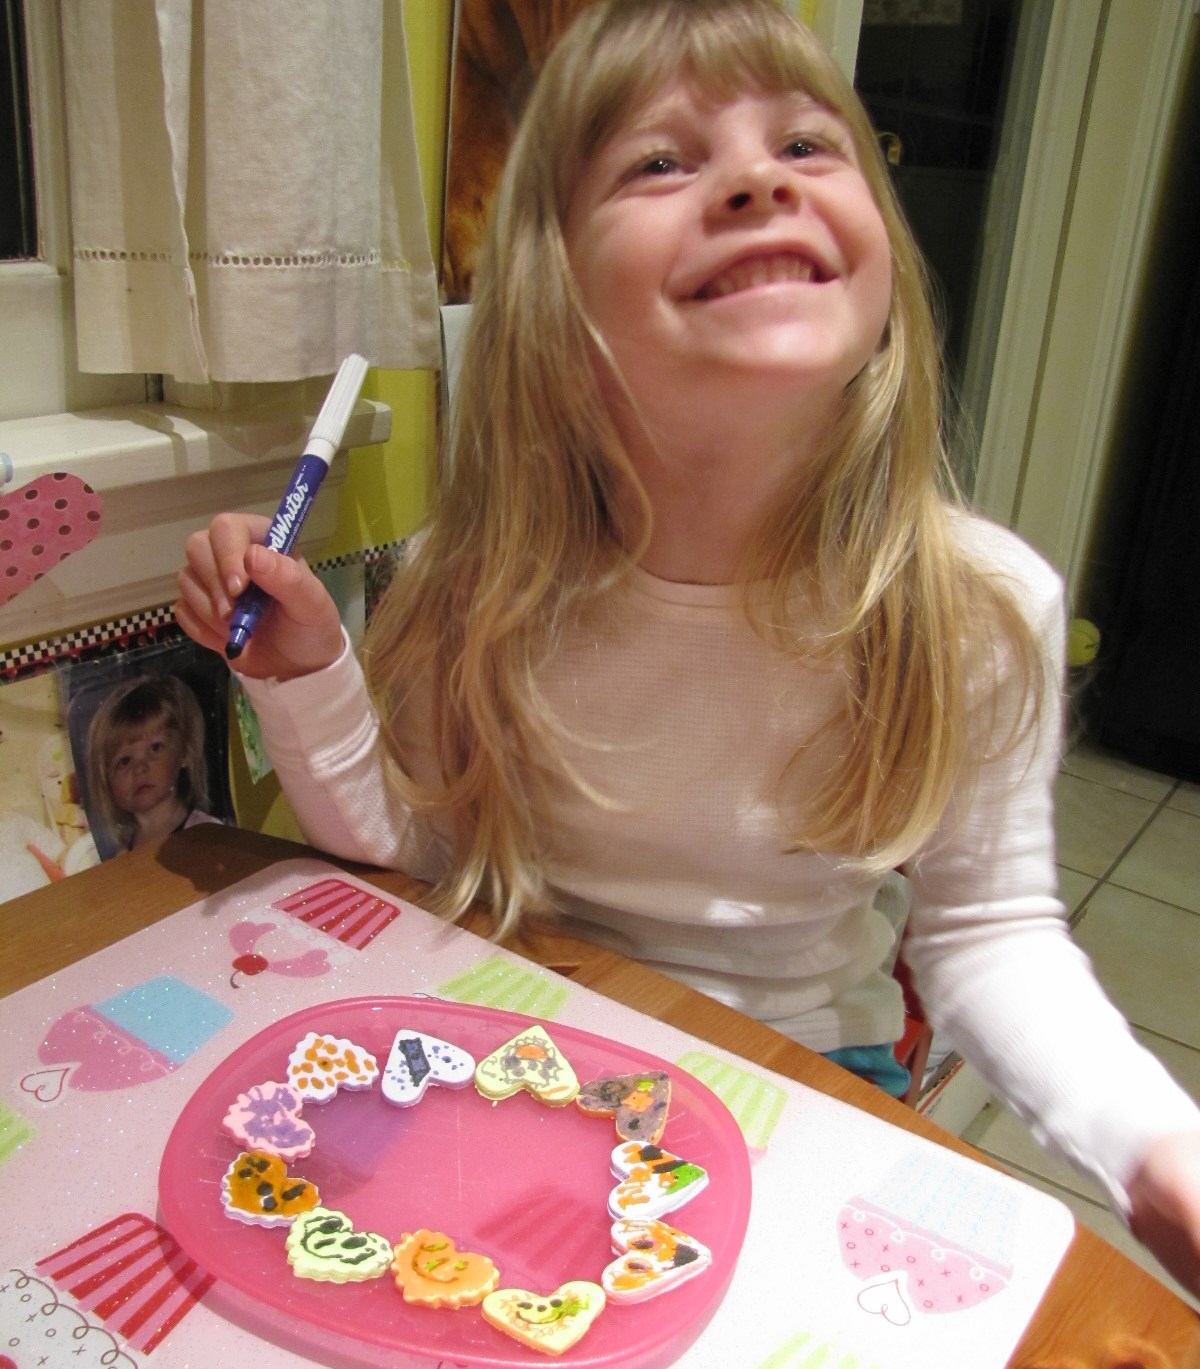
Package them up and they are a sweet gift for friends, neighbors, family and teachers!

.jpg)
Website | Instagram | Twitter | Facebook | queenvanna@cox.net
No comments:
Post a Comment
Note: Only a member of this blog may post a comment.